|
| |
| |
Cosy Computing |
| |
|
| |
02. Setting Up The Pi. |
|
| |
|
| |
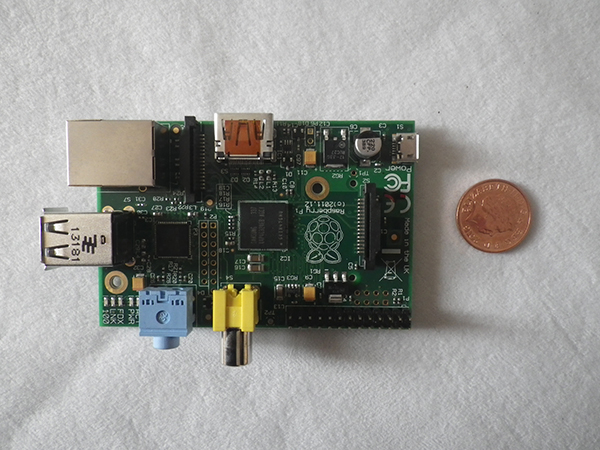
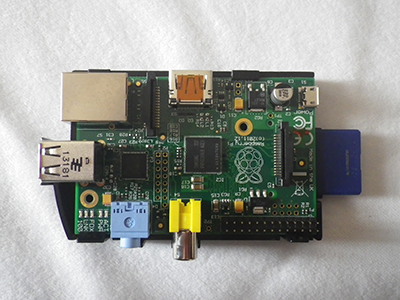
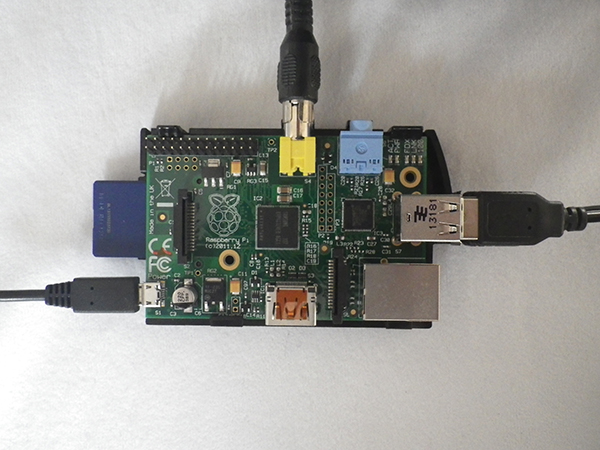
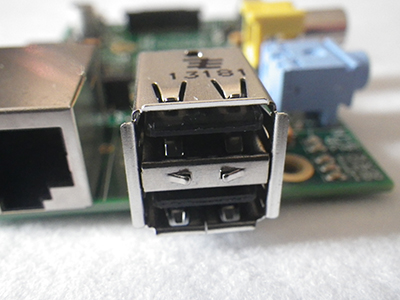
This is the Raspberry Pi model B. It is a single-board computer. I'll look at the board in more detail later. This is about setting the thing up, and getting going. This is the top of the board. You can se that there are lots of places to connect things. This makes me very happy. I like things that are modular because you can swap bits around to suit different contexts. And if a part breaks, you can change it without having to wait on using the whole thing. This includes the Pi itself.
|
|
|
| |
|
| |
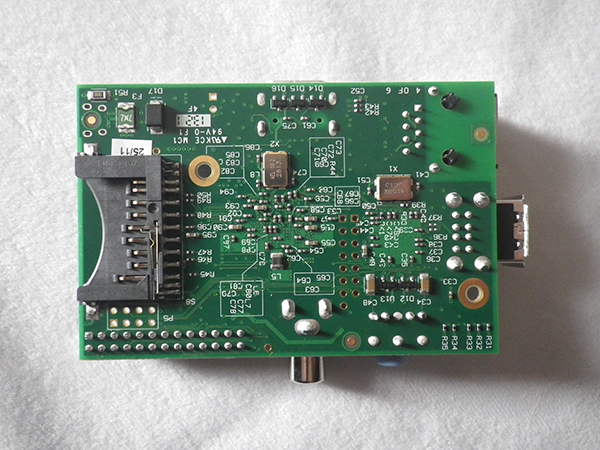
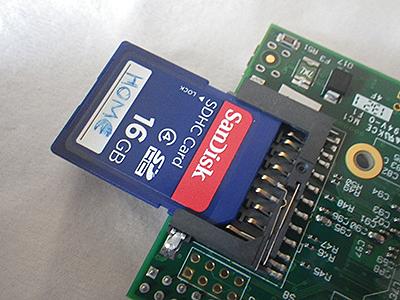
This is the base of the Pi. That big black bit that looks like an angler-fish mouth is the SD card slot. Here is another reason why the Pi is brilliant for people like me. The Pi has no software built in to tell it what to do when it starts up (BIOS). It reads the SD card to find out what it is supposed to do. Well more like what it is supposed to be. You can have use different SD cards to make the Pi into very different things. For example, my brother gave me a card preloaded with "OpenELEC" which turns it into a very efficient media centre. To make it be something else, you can just put in a different card. |
|
| |
|
| |
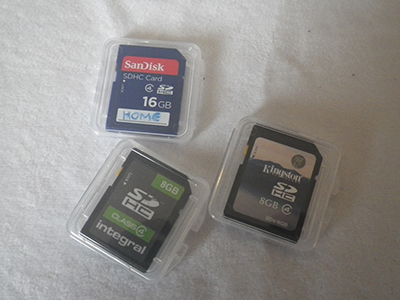
These are my current SD cards. They are only all different makes by chance, I was just picking up things on offer as I needed them. The kingston one has OpenELEC, the Sandisk I loaded with NOOBS on my laptop, (I'll get to that later) and from that installed Raspbian using the Pi itself. The thing that makes this swappable SD card business useful for me is the third card, the integral. This also has Rasbian but it's the one I use to try loads of stuff out. If I mess up too badly, or something doesnt work in a way I can't fix, I can wipe that card and start over. Once I find something that works, I replicate that process on the Sandisk. This means I don't so often lose everything I've done and have to start over. And also I can really cement when I've got the hang of something by replicating it. I like being able to basically have a glitchy test machine and a smoother version just by switching cards. I'll make use of different cards to efficiently do different jobs in the future too. For now, I'm tinkering in a very general way with the recommended starting software, NOOBS. I followed the instructions on raspberry pi's own website, formatting the SD card, downloading and unzipping NOOBS onto the card.. |
|
| |
|
| |
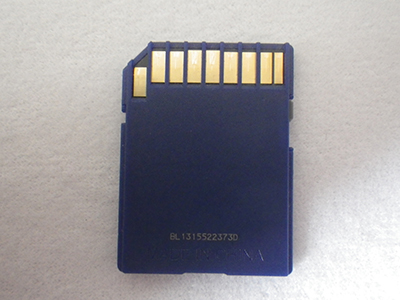
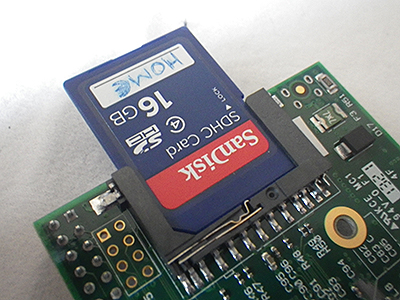
These metal parts of the SD card meet the little teeth in the mouth of the reader, and pushing it in closes a little switch, which is satisfying.. |
|
| |
|
| |
|
| |
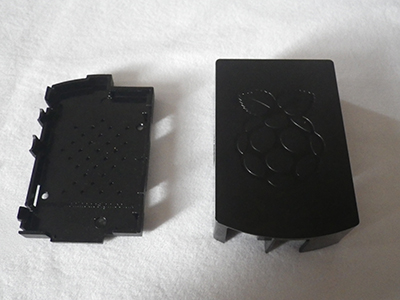
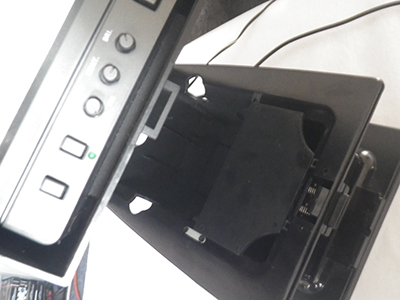
So the Pi now looks like this. As you can see, the board is also slotted into the bottom of its case. You can get lots of different cases, or make your own. The case that came with my Pi is this one: |
|
| |
|
| |
I've clipped the base on to stop the pi picking up fluff or getting damaged, but I'm going to leave the top off so we can see what is going on. |
|
| |
|
| |
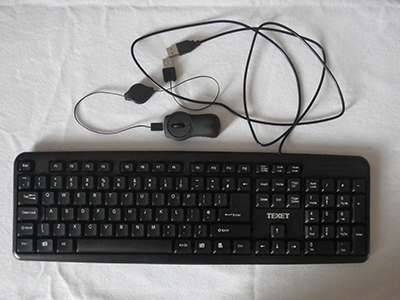
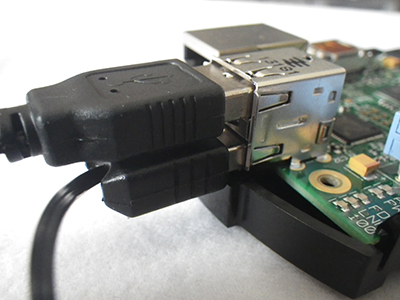
To be able to communicate with the Pi we need input devices. I am using a basic USB keyboard and a Muji travel optical USB mouse (yes I know it looks like a little bottom). I'm using wired because there is less to go wrong especially with an initial set up. |
|
| |
|
| |
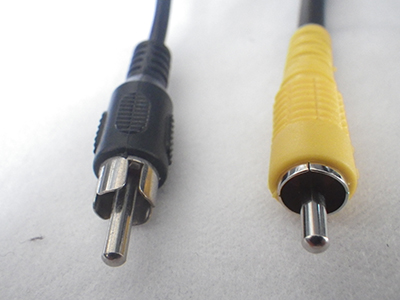
These plug into the USB ports like this. Now we could input information into the Pi, but we have no way of seeing what we are doing, so we are going to add a monitor. The Pi has an HDMI output but I don't have an HDMI TV or monitor, so I am going to use the Composite RCA video output instead. |
|
| |
|
| |
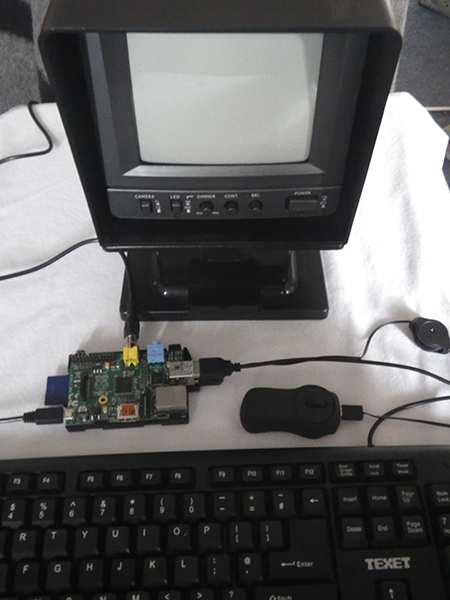
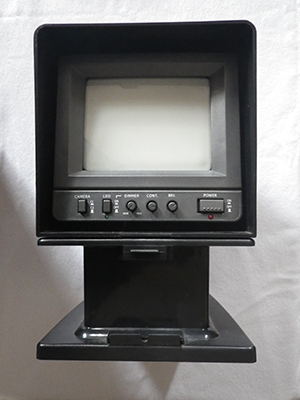
That's this kind of cable. I am using a black one because it looks nicer, but the standard is yellow. To enable RCA instead of HDMI when setting up NOOBS you have to press 3 or 4 on the keyboard when you turn it on depending on whether the TV is PAL or NTSC. I tested various monitors using OpenElec as I altready had it before using NOOBS to check that whatever monitor I was using would work. I tried plugging it into my big old tv, but the picture wasn't that great, and I find flickering really hard to look at, so I went hunting around for other things I could plug it into. I dug out an old monitor from a Maplin infra-red underwater fishing camera. |
|
| |
|
| |
It's black and white, and tiny but it looks unusual and has a nice sci-fi feel. |
|
| |
|
| |
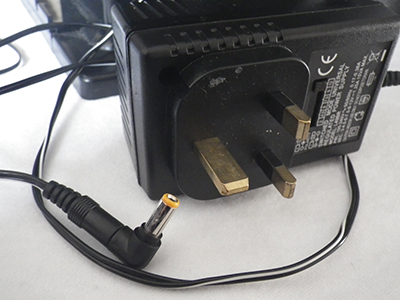
It runs on battery, but that was long dead so I found a generic power supply instead that I had been using for keyboards. This has the added bonus of freeing up the space inside the base where the battery had been. If I cut out the plastic dividers, this will actually fit the Pi inside, which is neat. |
|
| |
|
| |
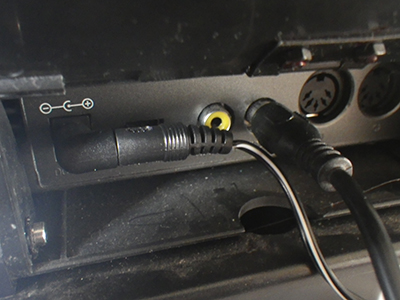
| The RCA Composite video out on the Pi connects to the video in on the monitor. You can also see the monitor power connected here. |
|
| |
|
| |
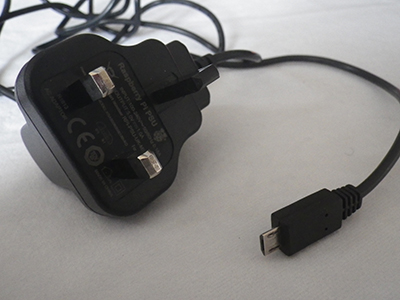
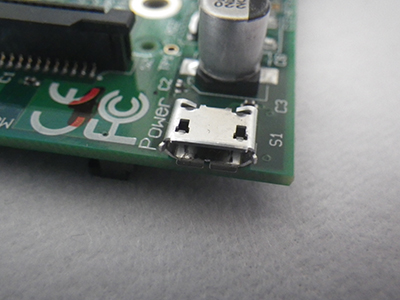
| The Pi itself also needs power. I am using the power supply that came with the Pi. You can use others, as it has a standard micro usb fitting, but you need to be careful to use the right kind. It needs to provide at least 700mA at 5v. |
|
| |
|
| |
Once the power is connected, the pi looks like this, and the next step is to let it know what to be.. |
|
| |
|
| |
|
|
| |
| |
| |
|
| |