Cosy Computing
 
 
07. Connecting


Having tried out a VGA connector at SOSLUG, I got one myself. This adaptor separates the sound from the video, to a headphones socket, which will be useful. It means I can use the same sound equipment as I was using with the old RCA monitor.

 
vga adaptor
vga adaptor connected
 

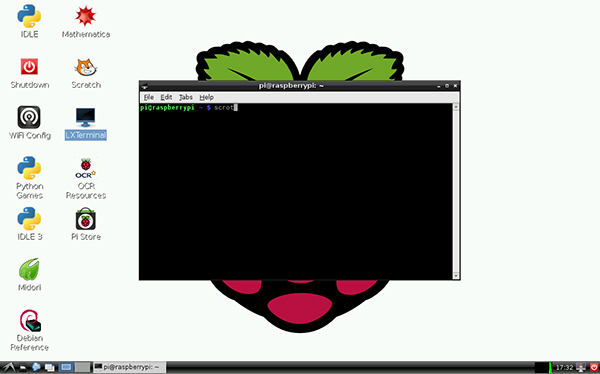
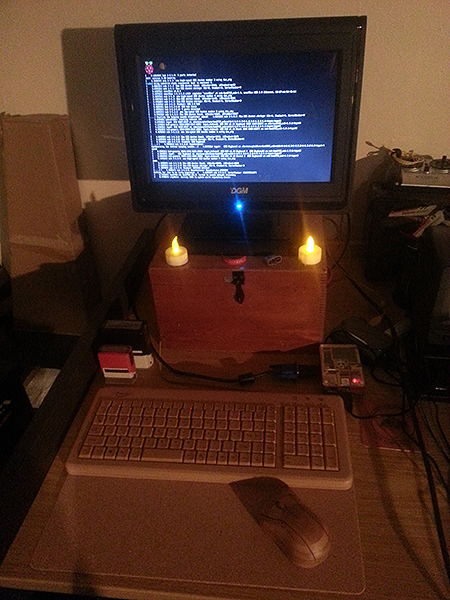
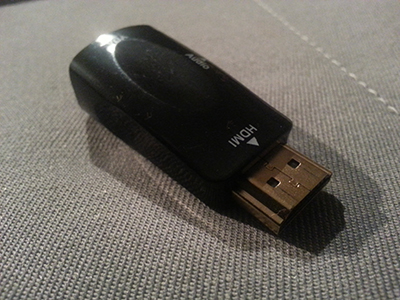
The Pi only outputs video to HDMI or RCA. Having set it up as RCA, I had to change those setting by editing the configuration file, "config.txt". There is a way to bring up a menu for this, but I did it the way I was shown at SOSLUG.

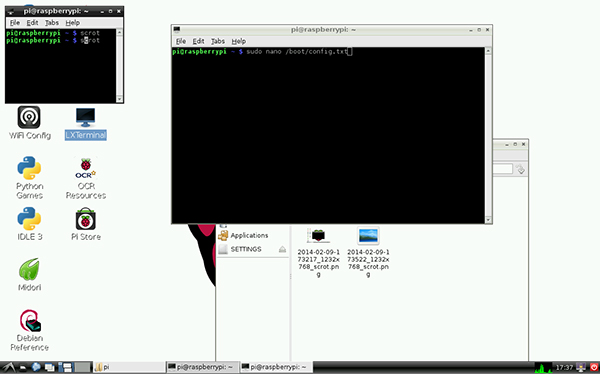
In the command line, typing "sudo nano /boot/config.txt" will bring it up in an editable form. I was shown how to do this using "Vim" (sudo vim /boot/config.txt), but I am not using Vim at the moment because I want to understand the standard ways of doing things first. Nano is just the standard text editor that comes with Rasbian. So with that comand, I am saying "I, your superuser, want you to (sudo) use nano to (nano) open this file: /boot/config.txt". Once it is open, you can edit it.

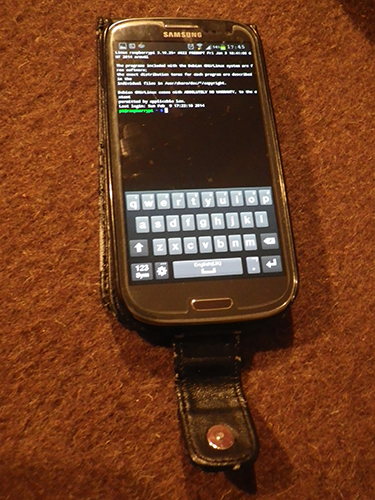
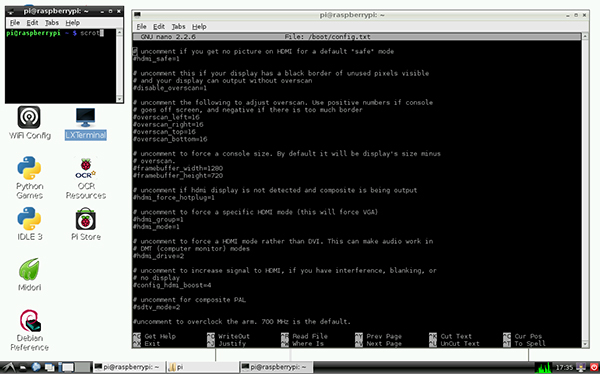
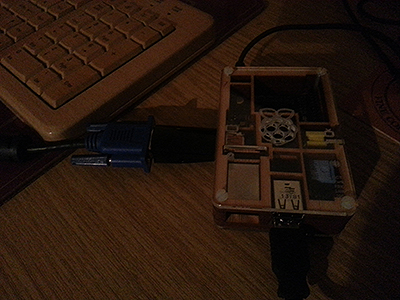
At the very top of the file, if you delete the "#" in front of "hdmi_safe=1", you get hdmi safe mode. The "#" symbol makes it an annotation. If you delete it, it becomes an instruction to the machine. This is what I used connecting. Now, for some reason I do not understand it no longer needs to be in safe mode to work with the vga adaptor. Maybe it never did with this monitor, I just did it exactly as we did at SOSLUG because I didnt want to get stuck with no dislpay at this stage.

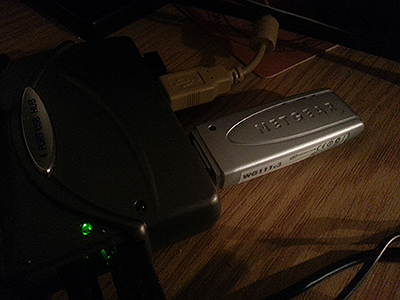
The second thing I wanted to try was connecting wirelessly. My Dad gave me an old wireless dongle he no longer used. You can buy much neater, smaller dongles now, but this saves money, and is re-using something no longer needed, which is better.

 
wifi
connected
 

Connecting was simple through Raspian's own wifi config, which you can access through the GUI by clicking on the icon for wifi config. I'm not going to bother talking you through that as it was the same as any otther wifi connection process, and it'll be different depending on how your own wireless is set up.

The next thing was to be able to connect to the by using SSH. SSH stands for "secure shell", and is a way to control a device remotely from another device. I had been shown how to do this from another computer at SOSLUG, but now I wanted to SSH to the Pi from my battered and adored Samsung Galaxy S3 phone. To do this, I downloaded an app called ConnectBot from Google appstore. Then located my Pi's IP address using the command "sudo iconfig", which brings up a lot of connection information. Next to where it says "wlan", it helpfully gives you "inet addr:" and then a number which is your IP address. It is useful to know how to find this. I've used this a lot.

Then to connect using ConnectBot, all I had to do was enter the IP address, and the Pi's password when prompted, and I was in. Here you can see the command line for my Pi on my phone. Very useful if my monitors connection messes up - I can now control and configure my pi from my phone.

 
galaxy
 
Describing all these commands is getting a bit fiddly, so I'm going to download something that will let me take screenshots. To do that, the command is "sudo apt-get install scrot". This installs a program (scrot) that allos screenshots from within the GUI. Note - when you are installing or updating it will often let you know about changes to memory and you have to press Y to proceed (or N if you don't want to). Here is a screenshot:
 
scrot
 
Here you can see the command "sudo nano /boot/config.txt" being typed in the command line.
 
scrot sudo nano
 
And here, you can see config.txt itself. You can see the option I un-hashed for HDMI safe mode, and also plenty of other options for fixing problems. The resolution of these screenshots isnt very good. I'll look at that before I do more typing so it's easier to read.
 
scrot config
 
But I now have a machine with a display, wifi and SSH control. Oh and candles..
 
shrine